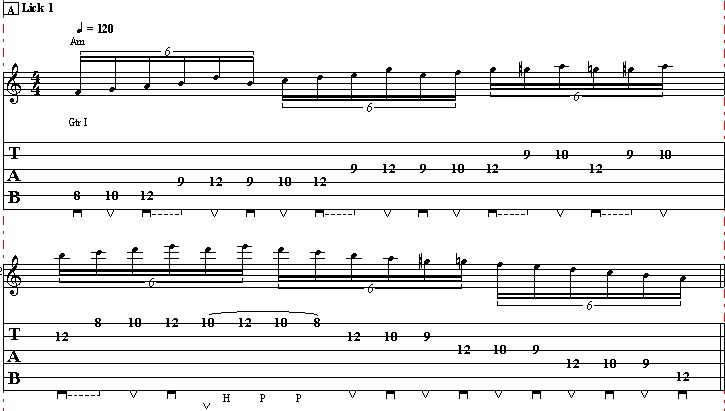
How to Play Jimmy Page Style Guitar Chords
In this Guitar Control video lesson instructor Robert Baker, is going to show you how to play “Jimmy Page style Guitar Chords”. Robert is going to show you a whole plethora of different chords that Jimmy used or the style of chords he used. Jimmy is actually an amazing acoustic guitar player, as he was an electric guitar player. Robert is going to demonstrate different examples and even including a finger picking exercise. So you will have two different techniques to work on with these chords.
Step 1: Chord Shapes
To get started mastering how to emulate the one and only, Jimmy Page Guitar style, let’s begin with diving into some of these chord shapes that Jimmy would use. He used a lot of open chord shapes, a lot of open strings that makes the guitar sound huge.
The first one we’re going to do is actually just an A major chord. It’s just spiced up a little bit. We’re going to play it by using the open A string, the 5th string, placing our ring finger on the 7th fret 4th string, middle finger on the 6th fret 3rd string, and pointer on the 5th fret 2nd string, and an open high E, which is the open 1st string. These open strings really brings this chord to life. That is our first chord, basically an A major chord.
Then we’re going to shift down, this one is based of an E major, but Robert informs us to not really worry about specifics. Lots of players like Jimmy Page went off feel and sound over theory. The best thing to do is have knowledge and awareness of both , knowing if it sounds cool, it’s cool but being able to use your knowledge of theory to help you move around the fret board. Using both ways of thinking, to spark ideas and inspire creativity but letting neither form of though limit you.
Our next chord is an E. We’re going to keep the open A string ringing in this chord as well as the open 5th string. Then place your ring finger on the 6th fret 4th string, pointer on the 4th fret on the 3rd string, and middle finger on the 5th fret 2nd string. This gives you this real nice sound and this shape is actually used in a lot of songs and by other guitar heroes like Randy Rhoads in “Crazy Train”. Funny how such a happy chord can be used by these pro’s in heavy rock bands and make the songs stand out and sound unique but still heavy.
Then take this shape and move it down, down, as in towards the head stock and away from your picking hand, two frets to the 4th fret. Now, it becomes a D major, your ring finger on the 4th fret 4th string, pointer on the 2nd fret 3rd string, and middle finger on the 3rd fret 2nd string, strumming from the 5th string down through the 1st. Then we are going to finish this progression with a normal A major in the open position. To play the open A place your pointer finger on the 4th string 2nd fret, middle finger on the 3rd string 2nd fret, and pointer finger on the 2nd string 2nd fret, and strum from the 5th string down through the 1st. You can also bar all the strings with your pointer finger if you prefer to play the A major that way since they are all in the same fret. On the first A we strum, down, up, down, down on the E we strum, down, down, up, down, down, then on D, down, up, down, down, just like we did for the first A, then on open A we strum down, down, up, down, down.
Step 2: A Different Take on Different Chord Shapes
Now, Robert is going to show you some other chord shapes that uses open strings. It starts with another A major chord that also uses open strings but is played on different frets with a different voicing. First plan an open A, the open 5th string, then play the 11th fret on the 4th string with your ring finger, then 9th fret 3rd string with your pointer, and 10th fret 2nd string with your middle finger, and open high E, the open 1st string. Strum from the 5th string down and you get a very nice, big open A chord. Has all of that low end but also the highs, sounding almost like chimes.
The next chord is another E chord and looks like the open A major shape. To play this E chord you are going to hold down the 9th fret on the 4th, 3rd, and 2nd strings, and strum from the 5th string down through the 1st. Robert does this by barring with his pointer finger, which means he is holding down all three notes with his pointer. Then he moves this shape down two frets towards his head stock and away from his picking hand to play a D major, barring the 4th, 3rd, and 2nd strings with his pointer finger all on the 7th fret, strumming again from the 5th string all the way down through the 1st.
Then he connects this progression and vocals to the ones we did above. Calls it almost a double progression and demonstrates himself walking down the neck starting with the A on the 11th fret, to the E on the 9th fret, to the D on the 7th fret, to the A on the 7th fret from before, and then also to the E before on the 6th fret, then D from before on the 4th fret, ending with the open A major chord on the 2nd fret. At 3:59 Robert demonstrates how to connect all these shapes in one fluid progression.
Step 3: Adding Finger Picking
Jimmy would do chords like this pretty often in his music. Robert also wanted to incorporate some finger picking. So go ahead and go back to the A rooted on the 11th fret. This is where we are going to start. The finger picking pattern that Robert is using is going to be, first pick your open A string with your thumb, so the open 5th string. Then the open high E, the 1st string, with your ring finger. Then the 2nd string with your middle finger rand then the 3rd string with your pointer finger. Then use your thumb to play the 4th string and then ring finger picking the 1st string again, middle picking the 2nd, ring picking the 3rd string, and ending with your thumb picking the 4th string one last time before moving to the next chord shape and repeating this pattern. He is going to use the same finger picking pattern on each of the chord shapes we learned in this lesson, connected both voicing we did of these interesting shapes and ending with the normal A major.
If you are enjoying these finger picking exercises be sure to check out Robert’s other video, how to mix melodies with finger picking guitar chords. So A major rooted on the 11th fret, to the E major on the 9th fret, to the D on the 7th fret, to the A on the 7th fret, to the E on the 6th fret, D on the 4th, and ending with the open A major in the open position on the 2nd fret. Remember you can walk this pattern down and even just these chords all over the place. They have this incredible Jimmy Page inspiration behind them. You can even do some finger style stuff if you wanna spice them up in a completely different way again. The options are limitless and you should have fun being creative with it. To Robert, these voicing really nail that Jimmy Page Grove.
Recap: How to Play Jimmy Page Style Guitar Chords
I hope you enjoyed Robert’s lesson on mastering the Jimmy Page Guitar Style and feel! Obviously Jimmy Page is an amazing guitar player, so creative and so ahead of his time with a lot of ideas he was doing, he is certainly someone to learn from. Be sure to take Jimmy’s ideas and style and use them to fuel and inspire your own creativity, and of course, as always, have fun! That’s what guitar is all about.
[ninja-popup ID=715]